I've received easy, easy-to-follow plans that will allow anybody from any walk of life to develop their very personal boat, and for a portion of the price of purchasing 1. With minimal provides, and a extremely small cost, you'll get your boat on the water in no time!
Glue a double row of bricks inside the concrete planter alongside the back aspect with water-resistant building adhesive. Stack and glue a single row of bricks on leading of the bricks farthest from the planter wall on the initial row. The bricks will elevate the tumbled-marble-tile wall within the planter and also assist brace it into place. Permit the adhesive to dry 24 to 48 hours.
One of the most marketable boat gear is the boat motor mount. As the name suggests, this 1 is produced to maintain the motor in location whilst the owner is easily seated on the boat, doing what he meant to do. You wouldn't want to concentrate all your interest and strength on holding your motor boat, would you? One of the leading manufacturers of boats is Intex. Because it is to be expected that the manufacturers should also be in a position to offer gear and other include-ons, they also make quality motor mounts.
Most use plywood supplier, also rot resistant wooden like cedar and oaks are utilized to build the hull. Wooden are great to use because it inexpensive, readily accessible anyplace, buoyant and any novice in boat building can effortlessly function with wooden.
As for tools, all I use are an 18V battery operated handheld power drill, 18V battery operated circular noticed with a plywood blade, 24" steel straight edge and sq. mixture and a whole lot of "C" clamps.
I can't more than emphasis the significance of a good set of plans prior to you start developing your tiki bar. This will conserve you time and cash alongside with guidance from an expert builder who builds outdoor paradises for a living. Go to Build Tiki Bar so you can see recommendations from people who have constructed their own bar.
If you're anything like me, you just can't abdomen the believed of investing thousands of bucks on a factory produced boat. Nicely, I have great news for you, YOU DON'T HAVE TO!
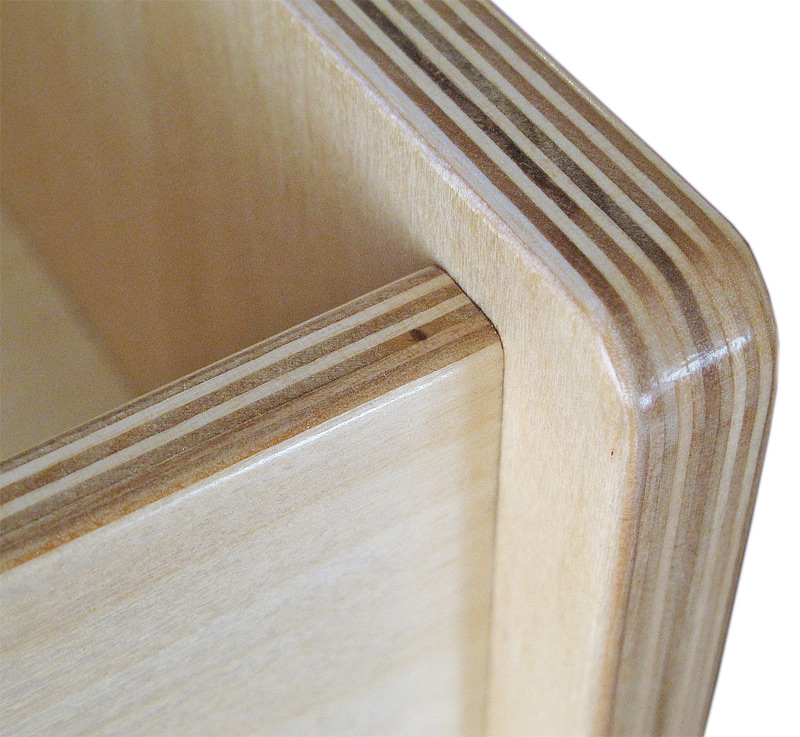
There are three sorts of plywood: inside, exterior and marine. There are also numerous grades of plywood which can be found at your local lumberyard. I normally suggest - as a minimal - using exterior plywood. However plywood supplier is normally a lot nicer and is favored when you want to build a boat that will be varnished.
Glue a double row of bricks within the concrete planter alongside the back side with waterproof construction adhesive. Stack and glue a solitary row of bricks on leading of the bricks farthest from the planter wall on the initial row. The bricks will elevate the tumbled-marble-tile wall within the planter and also help brace it into position. Allow the adhesive to dry 24 to 48 hours.
The amount you set as your spending budget will straight impact the kind, size as nicely as the supplies you will be utilizing for the dinghy. Consequently, it is very best to come up with a specific and affordable amount that you are prepared to spend for the venture. Developing a dinghy should be cheaper by far than purchasing 1, so looking about and checking the cost of ready made dinghy would help you established an earmark for your spending budget.

Your Local weather- If you live in an region that has warm summers and chilly winters, then you will encounter the same obstacles that I arrived towards. Make certain you use treated wooden for any surface area that arrives in contact with the website floor. If you don't follow this rule then your tiki bar will quickly shrink and crack. That is why you must use handled lumber; it shrinks less and will final much lengthier. Whenever you have wood that is uncovered to the weather you require to spend near attention to the kind of wood you use and proper treating of the wooden after it is installed.
Tie the boat to the shore to verify boat float; the boat ought to have no occupants. Watch for two or 3 hours to see if drinking water seeps into the boat. Mark the leaks with a grease pencil as they are noted. Take the boat out of the drinking water; allow the hull to dry for a day. Re-caulk the complete boat with special consciousness to the marked leaks. Permit the caulk to cure in accordance to the directions on the caulk label. Verify boat float again to ensure the seeps are stuffed. Carry the boat out and permit to dry for a day. Prime and paint the boat. Allow the paint to dry according to the producer's instructions. You are now almost there! Keep in mind, build wood boats can be fun and extremely rewarding.
If you follow the steps set forth above, stage-by-step the enormous elephant-problem you had been facing will be "consumed," conquered and completed off. You'll become successful; complete your venture after which you can enjoy your winner's benefits, the fruits, and fantastic things about your victory! Congratulations to you!